Hub Create
Hub Name
A hub is used as a way to show that a space is fully isolated from another. Naming a hub should reflect that. For example: SaaS products will generally use the name of the product as the hub name, where-as, developement teams completing projects as third party contractors will often times use the client name for some hubs, while using their company name for their main workspace.
Hub Tier
Hub tiers are how you define how much storage and RAM your hub will need. Each tier is tailored towards a hub size. If you choose a tier with too many resources Cycle will automatically scale your billing to a lower tier at the end of the month. Click here to find out more about tiers.
For businesses needing an SLA agreement please contact our Director of Customer Success, Chris Aubuchon at chris@cycle.io.
Select Provider
Adding a provider is a simple process and allows the user to fully manage their infrastructure through Cycle.
- Navigate to the infrastructure dashboard by selecting Infrastructure from the main left-hand navigation.
- Next select the Providers tab from the top nav.
- Select The Add Provider button at the top right of the screen.
- Pick the provider of your choice from the dropdown and add credentials.
- Click the Verify button to verify the credentials are correct.
Currently Supported Providers
Cycle currently supports the following providers:
Auxillary Native Providers
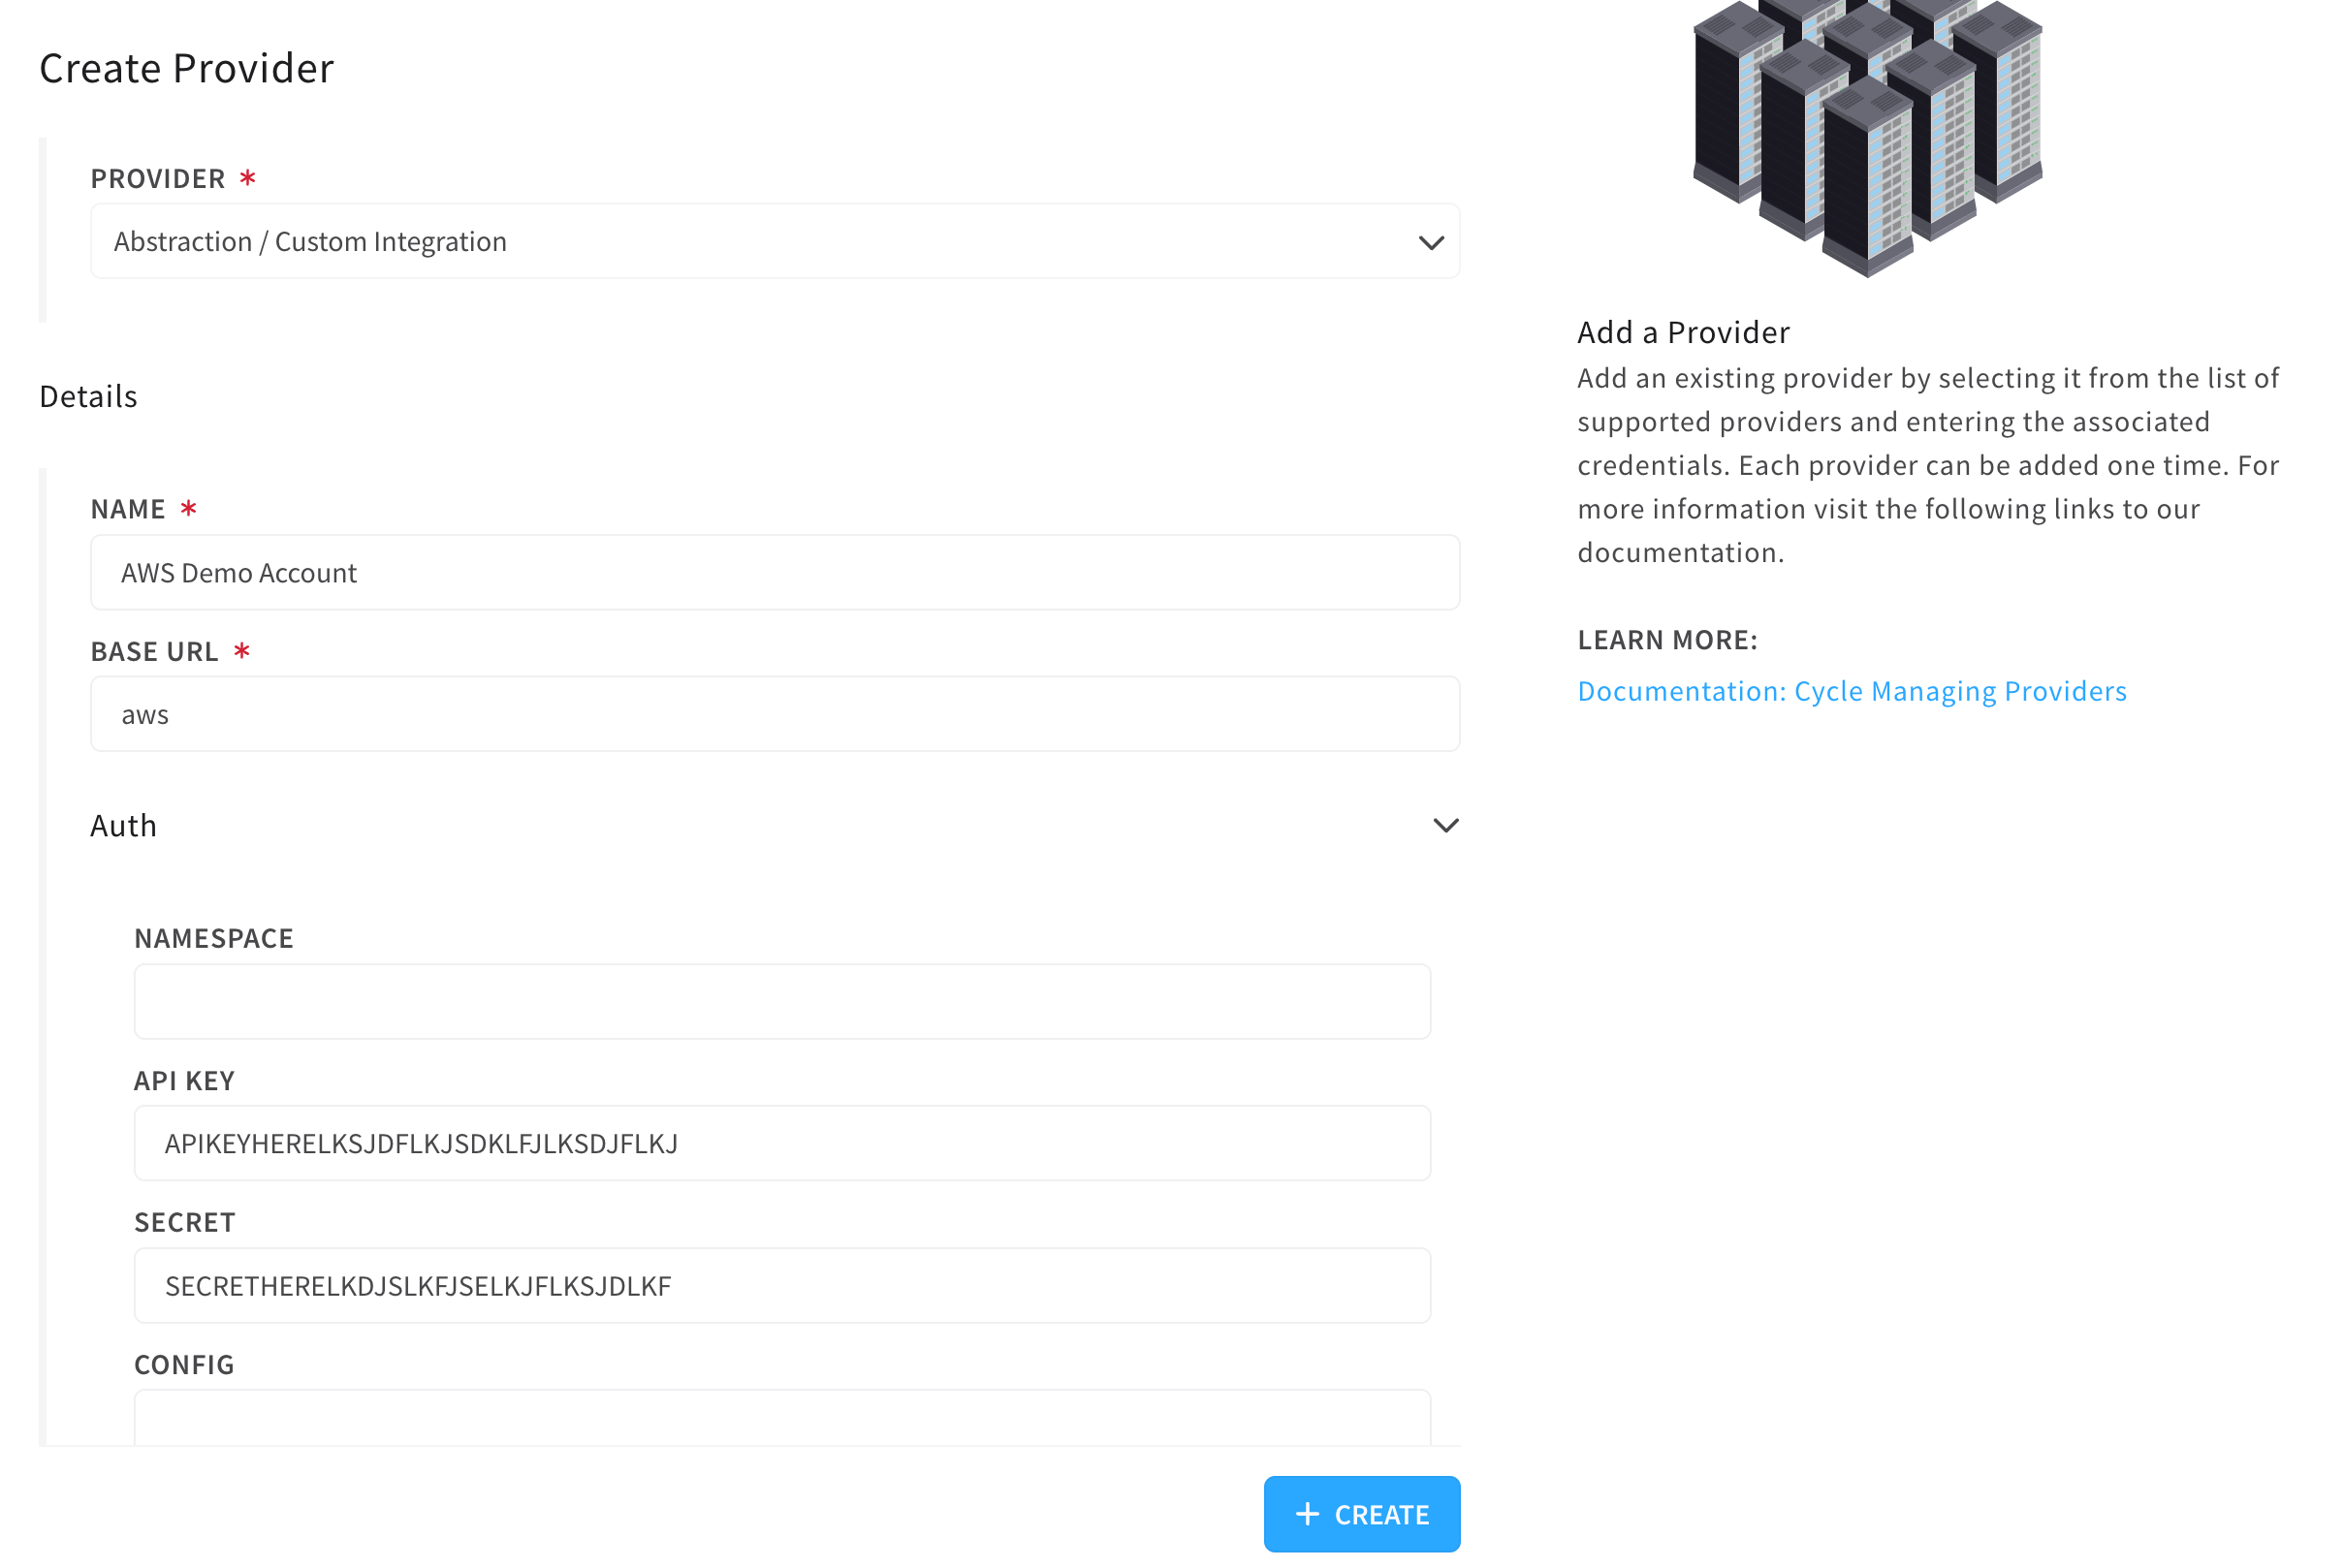
To set up an Auxillary native provider, or, more simply, to add another account of the types natively supported, users can select the Abstraction / Custom Integration provider with the following special base_url.
The supported base url's are:
awsequinix-metalvultrgcp
Alongside these base url's, the user will also need to provide the respective API key, secret, config, or whatever that provider requires.
Add API Keys
In order to add a provider to Cycle, certain resources are needed from each provider. On this page the resources needed are listed.
Also, for each provider there is a helpful guide shown on the hub create step where resources are added. Just click the dropdown under the resource form for any provider to engage with the guide.
Billing Information
For paid tiers there will be a billing page asking for the user to set a primary payment method.
Enter the credit card information you want to use for this hub. Your card will be charged at the end of your billing cycle, every 28 days.
If you need to arrange alternate payment methods, please reach out to our support team.
Deploy
The final step is to deploy infrastructure. This is the most important step because without running infrastructure there will be no resources available to run containers.
Luckily, with Cycle, this is incredibly simple. Just select a provider from the Providers dropdown menu, then select a location for the server.
On the next page add server(s) to your order summary and then click Deploy This Infrastructure.
Many buttons in the Cycle portal are "Hold to Use". This means its required that a user hold the click until the circle on the button completes. This is meant to safeguard users from accidentally clicking on things that can drastically change the state of a program or cost money.